Home Assistant on an Orange Pi Zero
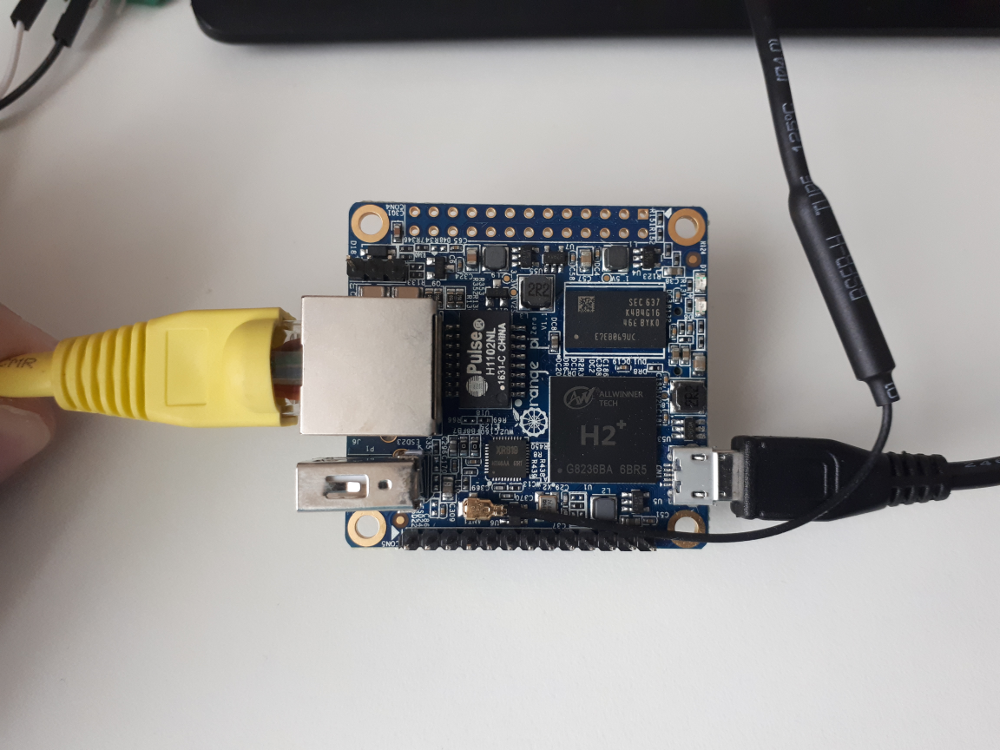
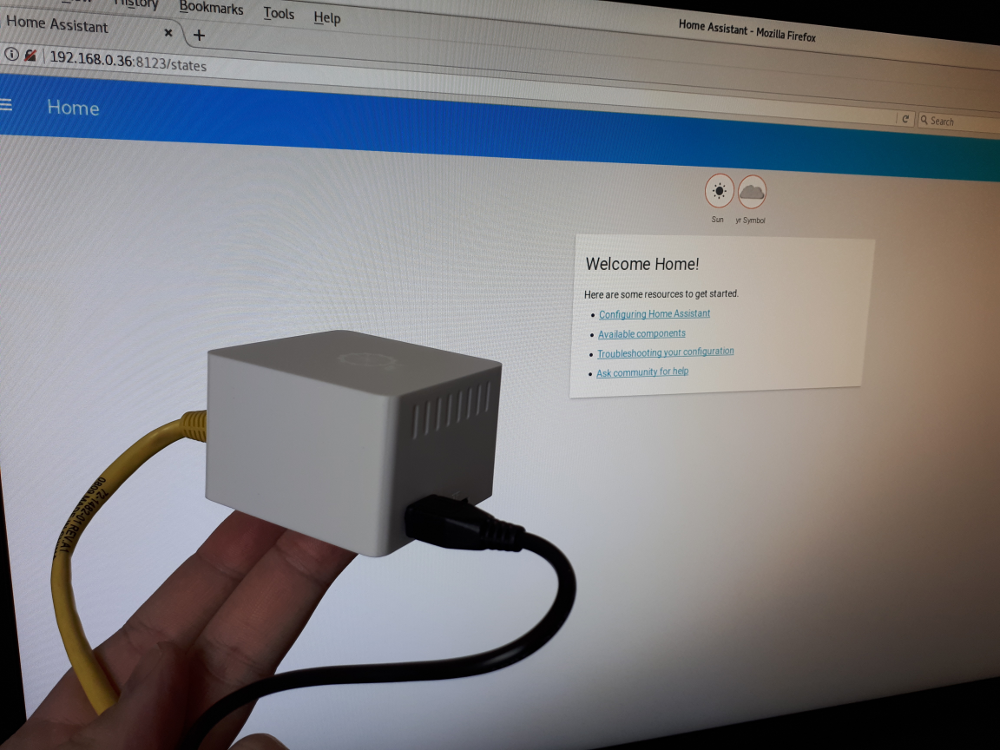
This blog post is about the setup of Home Assistant on an Orange Pi Zero. Like the setup on a Raspberry Pi Zero it will only take a couple of minutes to get a fully functional super cheap (less than 18 Euro incl. casing and power supply) Home Assistant hub. The reasons to use an Orange Pi Zero beside the prize are the built-in Ethernet port and the availability.

Download the Armbian and create the SD card with Etcher. There is no possibility to connect a display to the Orange Pi Zero. This means that you need a wired network setup with DHCP server. After your Orange Pi Zero is running, give it some time, and look for its IP address. The hostname is orangepizero.
If you found the IP address then use your SSH client to connect to the Orange Pi Zero. The default password is 1234.
$ ssh root@192.168.0.151
[...]
root@192.168.0.151's password:
You are required to change your password immediately (root enforced)
  ___                               ____  _   _____
 / _ \ _ __ __ _ _ __   __ _  ___  |  _ \(_) |__  /___ _ __ ___
| | | | '__/ _` | '_ \ / _` |/ _ \ | |_) | |   / // _ \ '__/ _ \
| |_| | | | (_| | | | | (_| |  __/ |  __/| |  / /|  __/ | | (_) |
 \___/|_|  \__,_|_| |_|\__, |\___| |_|   |_| /____\___|_|  \___/
                       |___/

Welcome to ARMBIAN 5.27.170514 nightly Ubuntu 16.04.2 LTS 4.11.0-sun8i
System load:   0.86 0.35 0.13  	Up time:       9 min
Memory usage:  5 % of 496MB  	IP:            192.168.0.151
CPU temp:      39°C
Usage of /:    16% of 7.1G

[ General system configuration: armbian-config ]
New to Armbian? Check the documentation first: https://docs.armbian.com

Changing password for root.
(current) UNIX password:
Enter new UNIX password:
Retype new UNIX password:

You are using Armbian nightly build.

It is provided AS IS with NO WARRANTY and NO END USER SUPPORT.

Creating a new user account. Press <Ctrl-C> to abort

Please provide a username (eg. your forename): ha
Trying to add user ha
perl: warning: Setting locale failed.
perl: warning: Please check that your locale settings:
	LANGUAGE = "en_US.UTF-8",
	LC_ALL = (unset),
	LC_PAPER = "de_CH.UTF-8",
	LC_MONETARY = "de_CH.UTF-8",
	LC_NUMERIC = "de_CH.UTF-8",
	LC_MESSAGES = "en_US.UTF-8",
	LC_MEASUREMENT = "de_CH.UTF-8",
	LC_TIME = "de_CH.UTF-8",
	LANG = "en_US.UTF-8"
    are supported and installed on your system.
perl: warning: Falling back to a fallback locale ("en_US.UTF-8").
Adding user `ha' ...
Adding new group `ha' (1000) ...
Adding new user `ha' (1000) with group `ha' ...
Creating home directory `/home/ha' ...
Copying files from `/etc/skel' ...
Enter new UNIX password:
Retype new UNIX password:
passwd: password updated successfully
Changing the user information for ha
Enter the new value, or press ENTER for the default
	Full Name []: homeassistant
	Room Number []:
	Work Phone []:
	Home Phone []:
	Other []:
Is the information correct? [Y/n] y

Dear homeassistant, your account ha has been created and is sudo enabled.
Please use this account for your daily work from now on.

root@orangepizero:~#
Get the latest details about the packages.
root@orangepizero:~# apt-get update
Hit:1 http://ports.ubuntu.com xenial InRelease
Get:2 http://ports.ubuntu.com xenial-security InRelease [102 kB]
Hit:3 http://beta.armbian.com xenial InRelease
Get:4 http://ports.ubuntu.com xenial-updates InRelease [102 kB]
Get:5 http://ports.ubuntu.com xenial-backports InRelease [102 kB]
Get:6 http://ports.ubuntu.com xenial-updates/main armhf Packages [479 kB]
Get:7 http://ports.ubuntu.com xenial-updates/universe armhf Packages [419 kB]
Fetched 1205 kB in 7s (158 kB/s)
Reading package lists... Done
Let’s run an upgrade to make sure that all available packages are up-to-date.
root@orangepizero:~# apt-get upgrade
Now, we are installing the requirements for Home Assistant.
root@orangepizero:~# apt-get install python3-dev python3-pip python3-venv
Those steps to install Home Assistant are described in the documentation and the guide for venv as well. Switch to the create user ha and perform the remaining installation steps which are reduced to the minimum below:
ha@orangepizero:~$ pyvenv-3.5 homeassistant
ha@orangepizero:~$ cd homeassistant && source bin/activate
(homeassistant) ha@orangepizero:~/homeassistant$ pip3 install --upgrade pip
(homeassistant) ha@orangepizero:~/homeassistant$ pip3 install homeassistant
(homeassistant) ha@orangepizero:~/homeassistant$ hass

To make it ready for daily usage, don’t forget to enable autostart.