RFXtrx Sensor
The rfxtrx platform support sensors that communicate in the frequency range of 433.92 MHz.
First you have to set up your rfxtrx hub.
The easiest way to find your sensors is to add this to your configuration.yaml:
# Example configuration.yaml entry
sensor:
  platform: rfxtrx
  automatic_add: True
Then when the sensor emits a signal it will be automatically added:
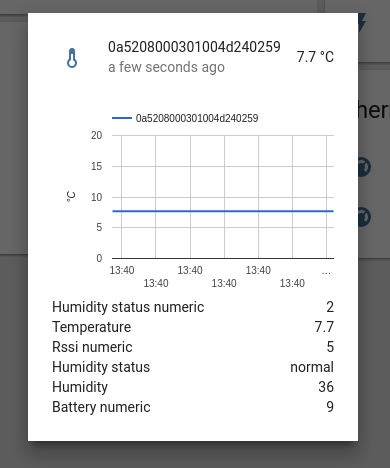
Here the name is 0a52080000301004d240259 or 0a52080000301004d240259_temperature and you can verify that it works from the frontend.
Then you should update your configuration to (_temperature is not needed):
# Example configuration.yaml entry
sensor:
  platform: rfxtrx
  devices:
    0a52080000301004d240259:
      name: device_name
If you want to display several data types from one sensor:
# Example configuration.yaml entry
sensor:
  platform: rfxtrx
  devices:
    0a520802060100ff0e0269:
      name: Bath
      data_type:
       - Humidity
       - Temperature
Only these data_type are valid :
- Temperature
- Humidity
- Barometer
- Wind direction
- Rain rate
- Energy usage
- Total usage
- Sound
- Sensor Status
- Counter value
Example configuration:
# Example configuration.yaml entry
sensor:
  platform: rfxtrx
  automatic_add: True
  devices:
    0a52080705020095220269:
      name: Lving
      fire_event: True
    0a520802060100ff0e0269:
      name: Bath
      data_type:
       - Humidity
       - Temperature
Configuration variables:
- devices (Optional): A list of devices with their name to use in the frontend.
- automatic_add (Optional): To enable the automatic addition of new lights.
- data_type (Optional): Which data type the sensor should show
- fire_event (Optional): Fires an event even if the state is the same as before. Can be used for automations.