RFXtrx Light
The rfxtrx platform support lights that communicate in the frequency range of 433.92 MHz.
First you have to set up your rfxtrx hub.
The easiest way to find your lights is to add this to your configuration.yaml:
light:
  - platform: rfxtrx
    automatic_add: True
Launch your Home Assistant and go the website. Push your remote and your device should be added:
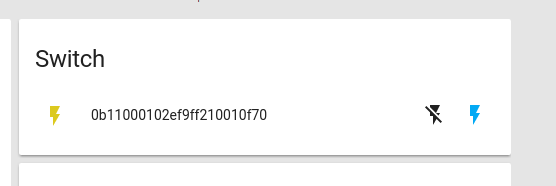
Here the name is 0b11000102ef9f210010f70 and you can verify that it works from the frontend. Then you should update your configuration to:
light:
  platform: rfxtrx
  devices:
    0b11000102ef9f210010f70:
      name: device_name
Example configuration:
# Example configuration.yaml entry
light:
  platform: rfxtrx
  devices:
    0b11000f10e9e5660b010f70:
      name: Light1
    0b1100100f29e5660c010f70:
      name: Light_TV
Configuration variables:
- devices (Required): A list of devices with their name to use in the frontend.
- automatic_add (Optional): To enable the automatic addition of new lights.
- signal_repetitions (Optional): Because the RFXtrx device sends its actions via radio and from most receivers it’s impossible to know if the signal was received or not. Therefore you can configure the switch to try to send each signal repeatedly.
- fire_event (Optional): Fires an event even if the state is the same as before. Can be used for automations.